21
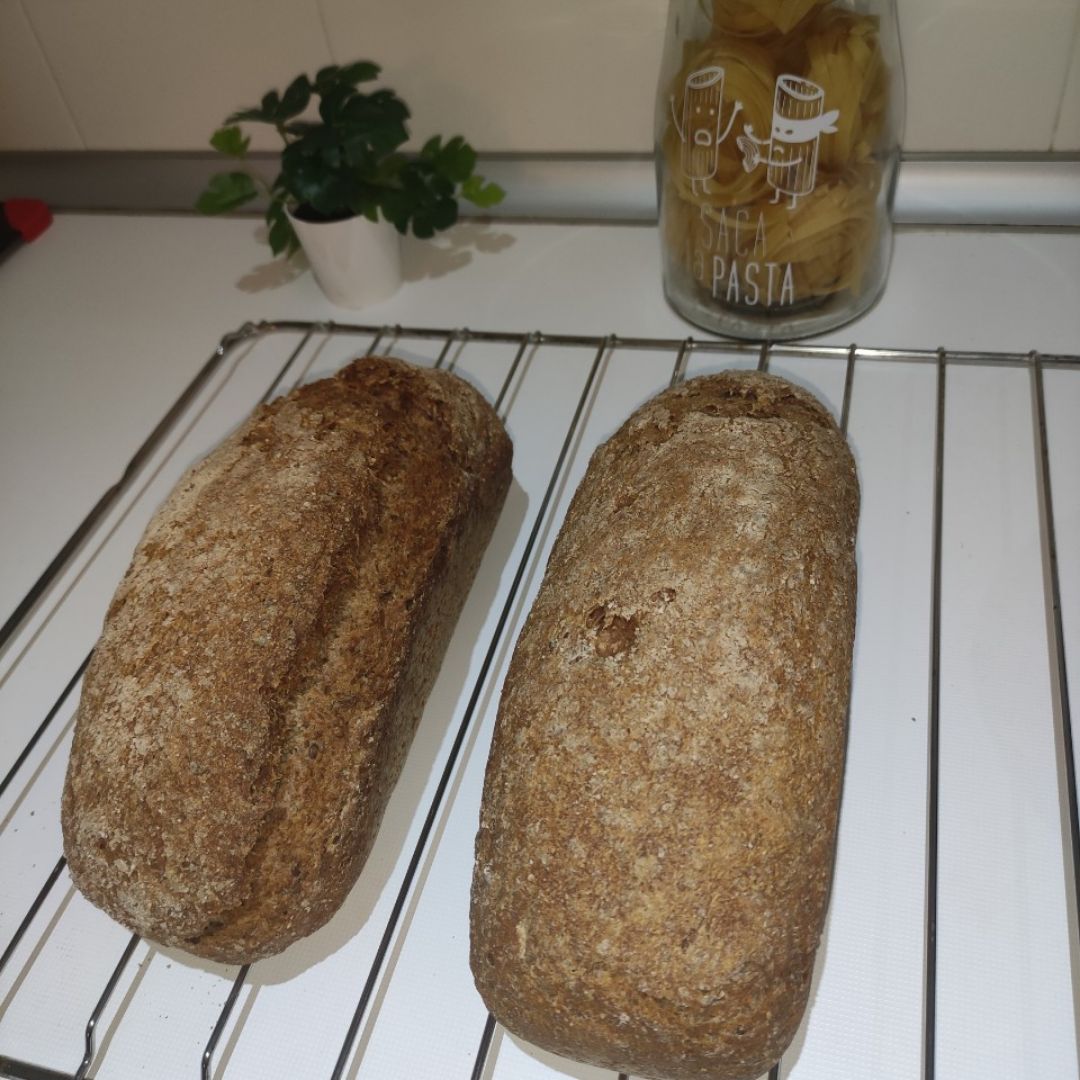
Whole wheat spelt bread with chia and flax seeds
3
(22)
0 kcal
Preparación de la receta
1
Heat the water to approx. 37 degrees, lukewarm but not hot. Add it to a bowl or Thermomixer.
2
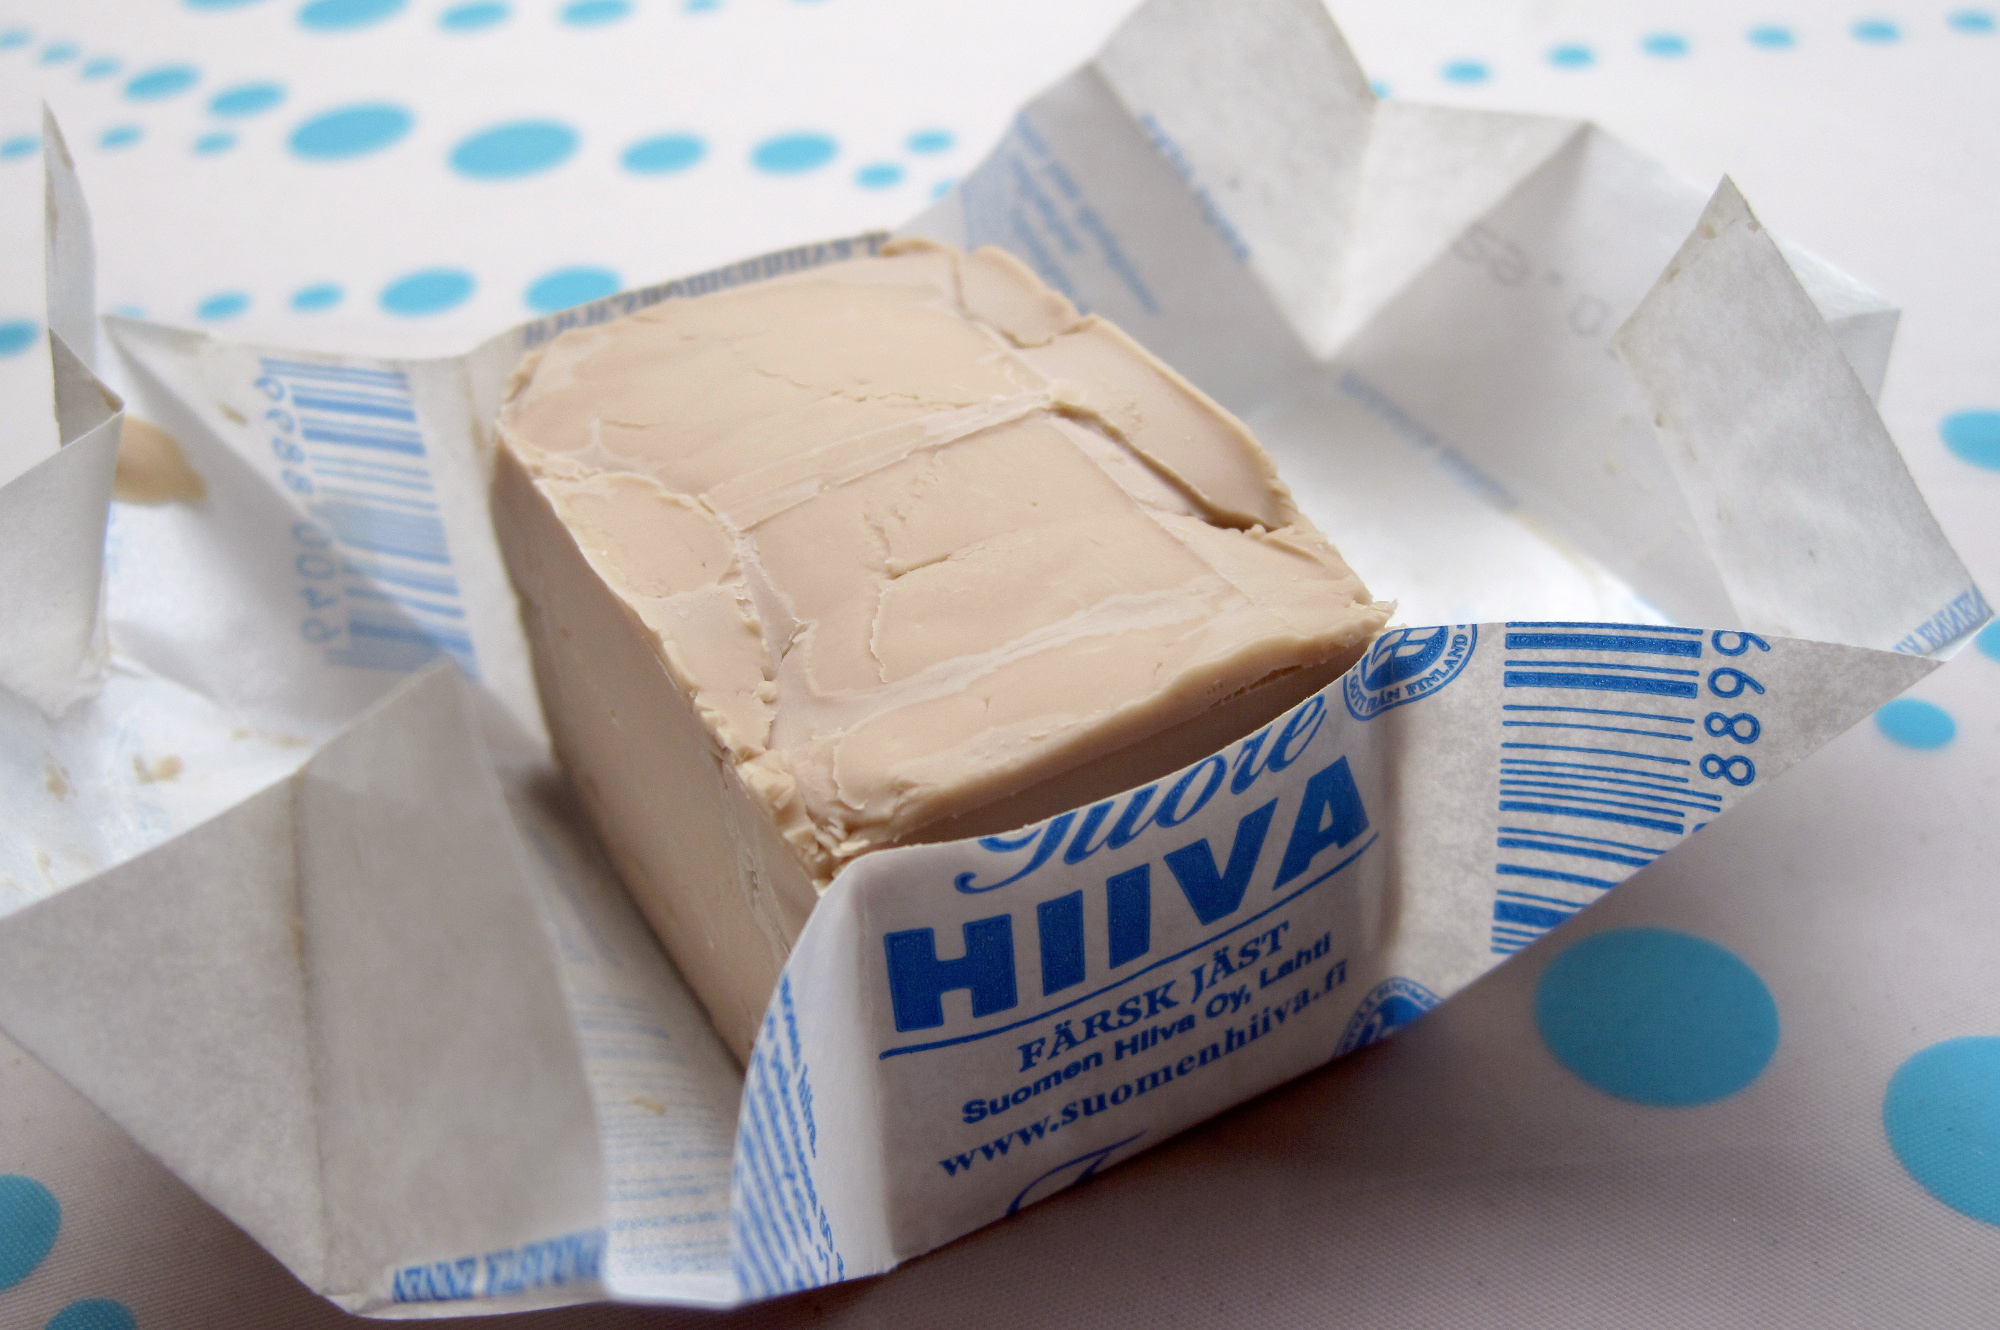
Add the yeast and mix well.
3
Add the flour and salt and knead manually until the dough stops sticking to the hands or program 6 min. Thermomix kneading program.
4
Add the chia and flax seeds and continue kneading until they are well integrated in the case of manual kneading or program 2 min. in the Thermomix kneading program.
5
Once we have finished with the kneading, we spread a bowl with oil and with the help of a napkin we remove the excess and pour the dough inside. Cover with two cloths and let rise for two hours.
6
Once the first rising is finished, we prepare a mold, we grease it with oil and remove the excess with a napkin. In the same bowl, we knead again until a hard ball is formed. Sprinkle flour on the work surface and shape the bread. Once it is shaped, put it in the mold and let it rise for 30 more minutes.
7
With the oven previously preheated to 200 degrees we introduce the bread for 25 minutes. Once the time is over, lower the temperature to 180 degrees and leave it for 35 minutes more. At the end of the time, remove the bread from the oven, let it cool on a rack and it's ready!
8
Be especially careful with the baking times and place the bread at a medium height. Each oven is different so, especially the first few times the bread is baked, you have to be very careful. It must have a toasted color, otherwise it risks being raw on the inside.
Ingredients
Steps
Calories
1
Heat the water to approx. 37 degrees, lukewarm but not hot. Add it to a bowl or Thermomixer.
2
Add the yeast and mix well.
3
Add the flour and salt and knead manually until the dough stops sticking to the hands or program 6 min. Thermomix kneading program.
4
Add the chia and flax seeds and continue kneading until they are well integrated in the case of manual kneading or program 2 min. in the Thermomix kneading program.
5
Once we have finished with the kneading, we spread a bowl with oil and with the help of a napkin we remove the excess and pour the dough inside. Cover with two cloths and let rise for two hours.
6
Once the first rising is finished, we prepare a mold, we grease it with oil and remove the excess with a napkin. In the same bowl, we knead again until a hard ball is formed. Sprinkle flour on the work surface and shape the bread. Once it is shaped, put it in the mold and let it rise for 30 more minutes.
7
With the oven previously preheated to 200 degrees we introduce the bread for 25 minutes. Once the time is over, lower the temperature to 180 degrees and leave it for 35 minutes more. At the end of the time, remove the bread from the oven, let it cool on a rack and it's ready!
8
Be especially careful with the baking times and place the bread at a medium height. Each oven is different so, especially the first few times the bread is baked, you have to be very careful. It must have a toasted color, otherwise it risks being raw on the inside.
Calories
Per 100g
Calories
carbohydrates
carbohydrates
proteins
proteins
fats
fats
salt
salt
Sugars
Sugars
Saturated fats
Saturated fats
Desbloquear información nutricional
Hazte PLUS para ver la información nutricional de las recetas, y desbloquear muchas más funcionalidades PLUS.
Información nutricional
Calories
Per 100g
Calories
carbohydrates
carbohydrates
proteins
proteins
fats
fats
salt
salt
Sugars
Sugars
Saturated fats
Saturated fats
Desbloquear información nutricional
Hazte PLUS para ver la información nutricional de las recetas, y desbloquear muchas más funcionalidades PLUS.
Valoraciones
Etiquetas
Doughs and breads
Dinner
Vegan
Vegetarian
Breakfast
¡Libera todo tu potencial con un Plan nutricional!
Planes nutricionales adaptados a tu objetivo 🎯 ¡Desbloquea todas las funcionalidades PLUS!




Se el primero en valorar esta receta...