2072
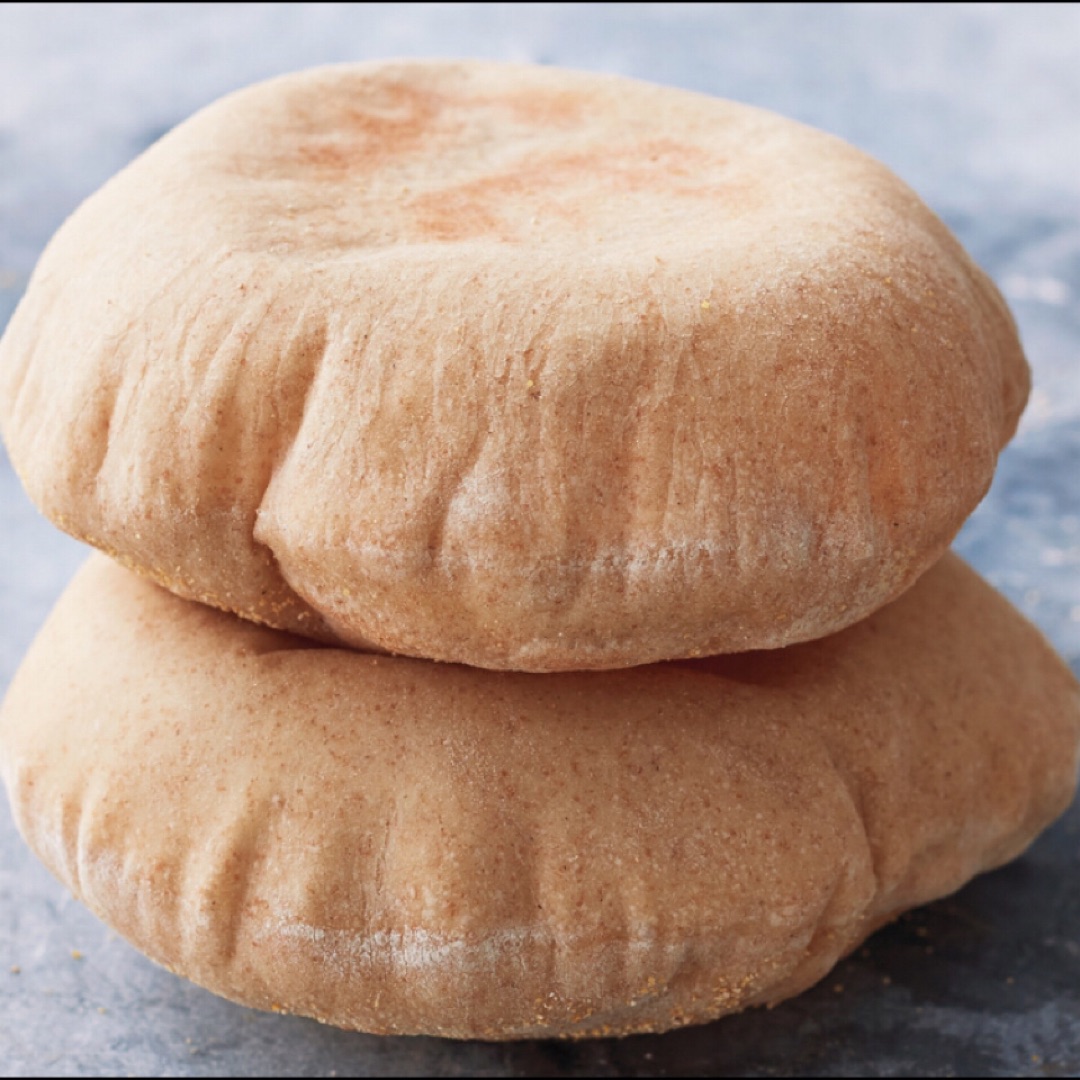
Pita bread / Arabic bread
4.9
(2126)
5 min
0 kcal
Preparación de la receta
1
First we pour the warm water in a bowl and dissolve the yeast (+ of a quarter) once dissolved we begin to pour the flour, if you have a kneading machine better, if not with a silicone spatula.
2
Once a homogeneous dough is formed without lumps and easy to handle, we pour flour on the work surface and knead, when it does not stick (approx.5' kneading) we add the oil and once absorbed the salt.
3
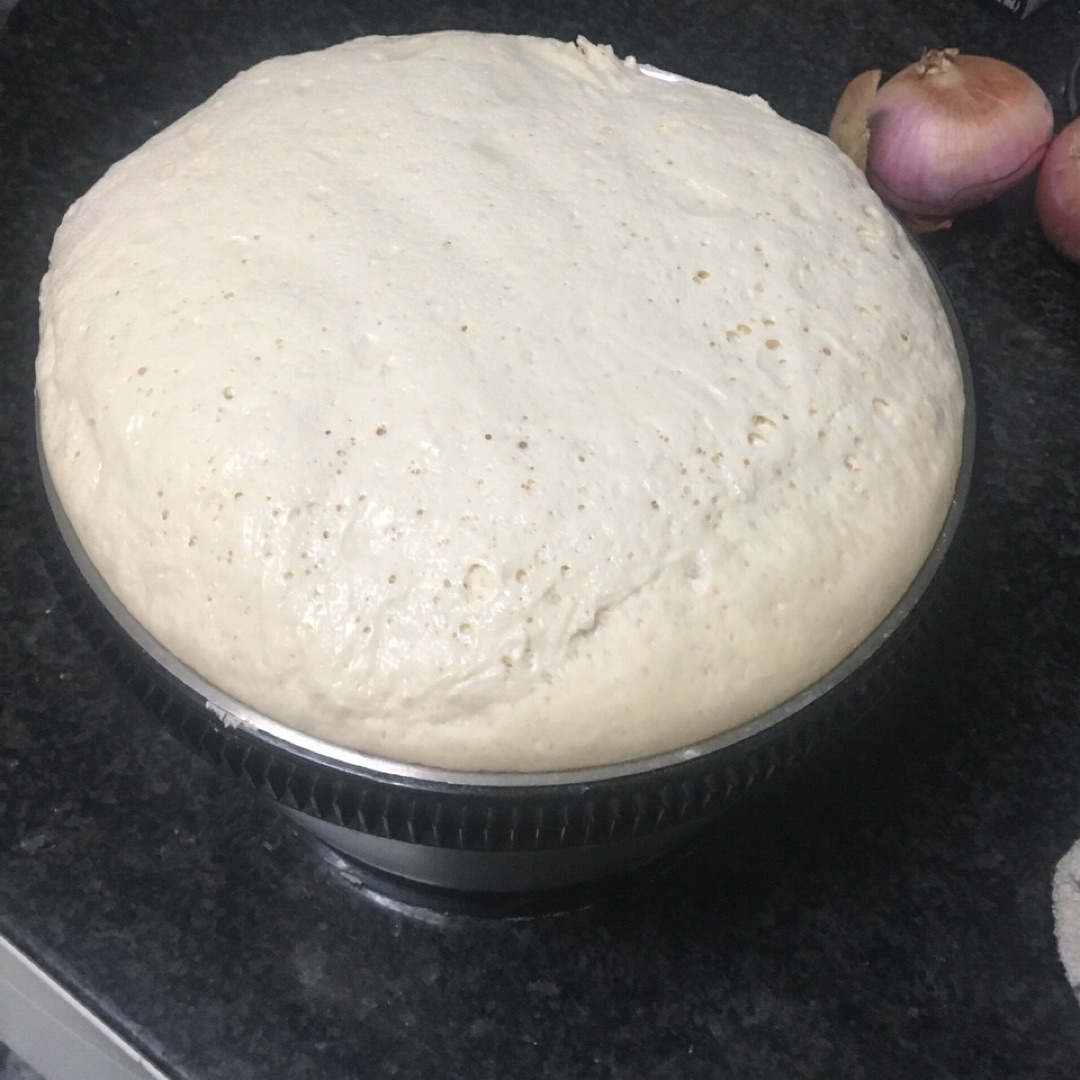
Grease a bowl with a little olive oil, place the dough and cover with film and a cloth. Heat the oven to about 55°C and put it inside, make sure the film covers everything (it has to be touching the dough), and let it rest between 60'-120' as long as you can.
4
Once the dough has risen, we put it on the table with a little flour and degas, we divide it into small balls, of approx. 80-90gr, then they grow, we flour a little a cloth cloth and put the balls, with a little separation, and on top we put a little oil, (if they do not dry) and let them rest 30'-60' more or less.
5
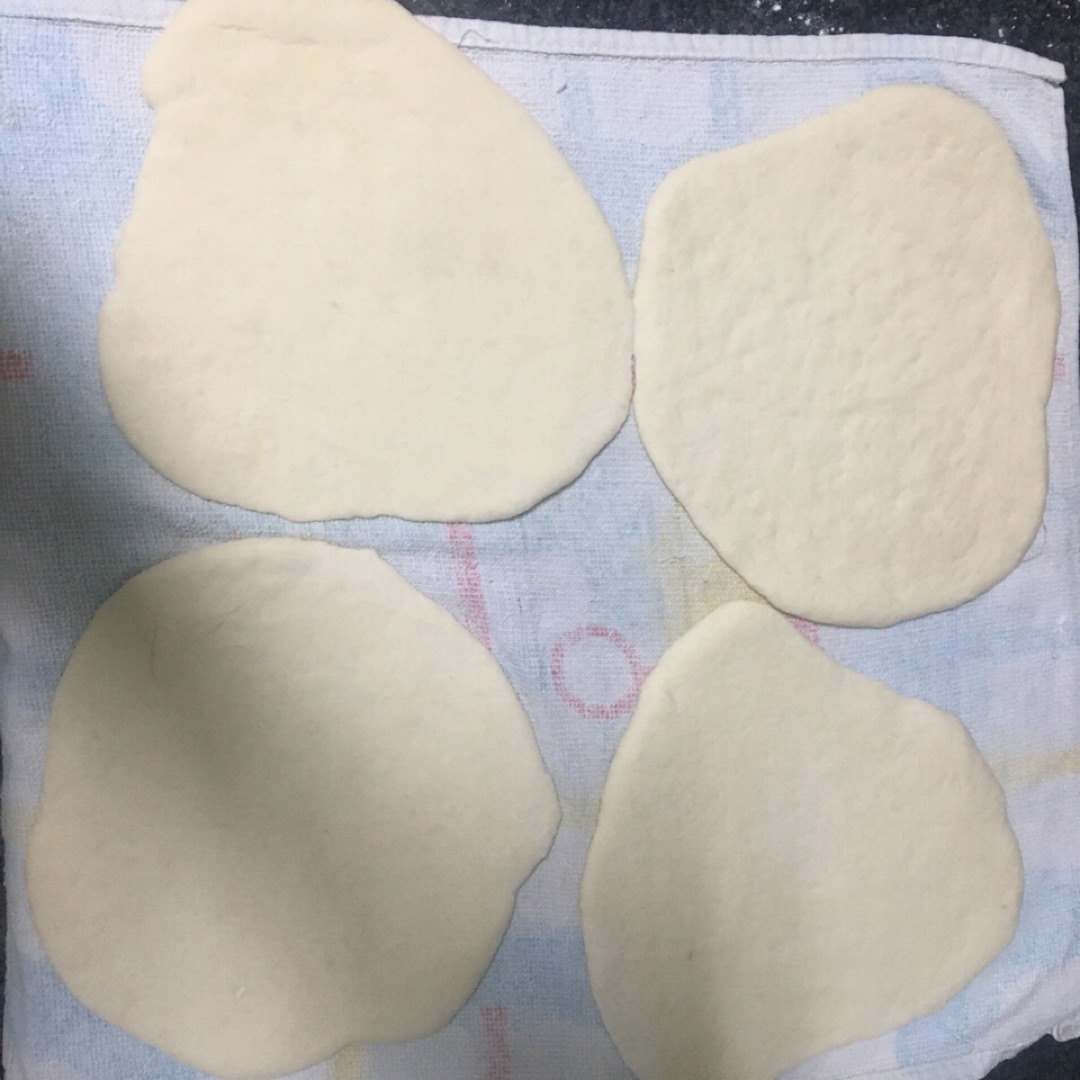
When they have grown they will look like telepizza doughs, but they will be super tender, we degas from the outside in, and shape them round and quite thin.
6
We put them in floured cloths and cover them on top, when we finish all of them we heat the oven to the maximum (250°C), when we finish shaping them because this way they rest a little, or a frying pan to the maximum also.
7
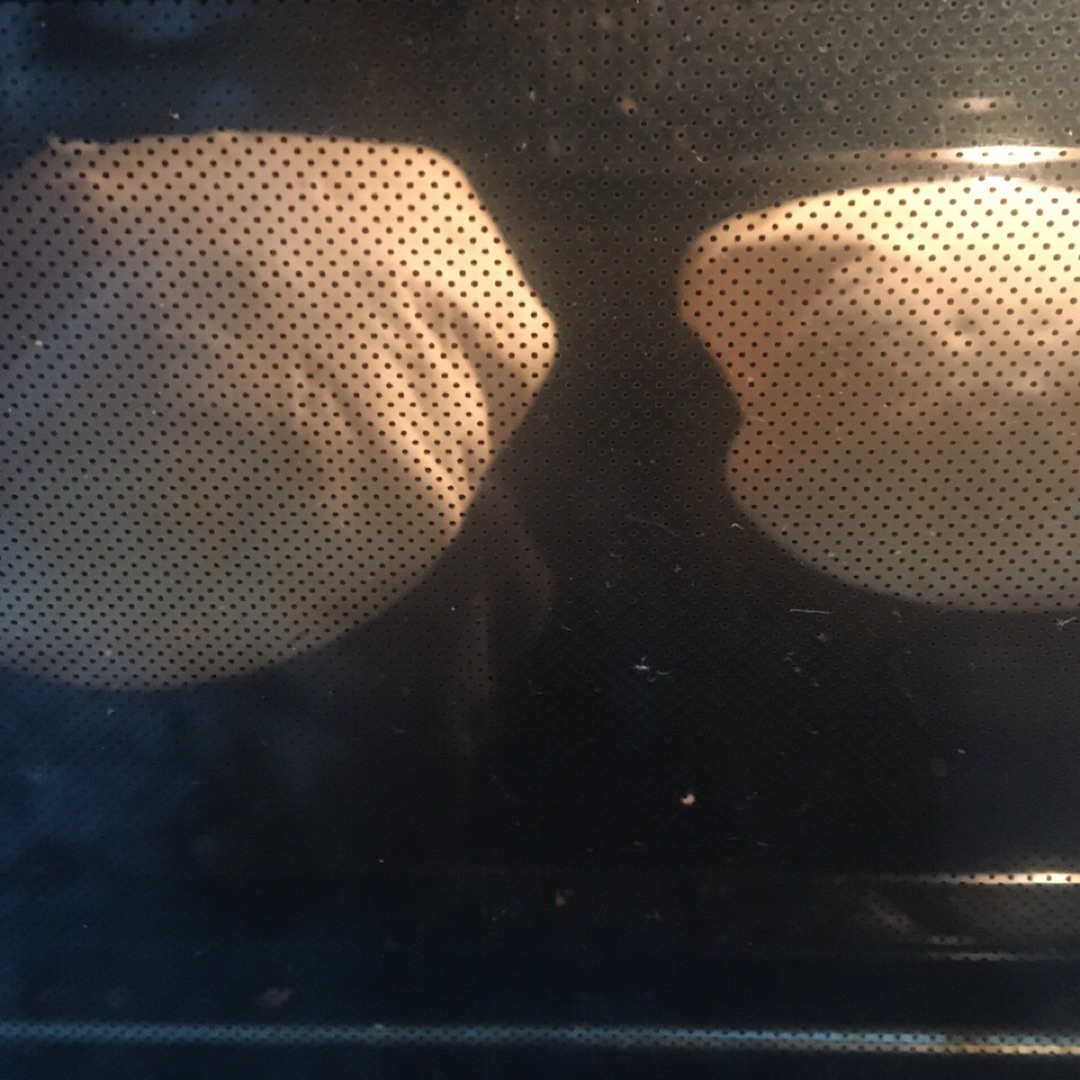
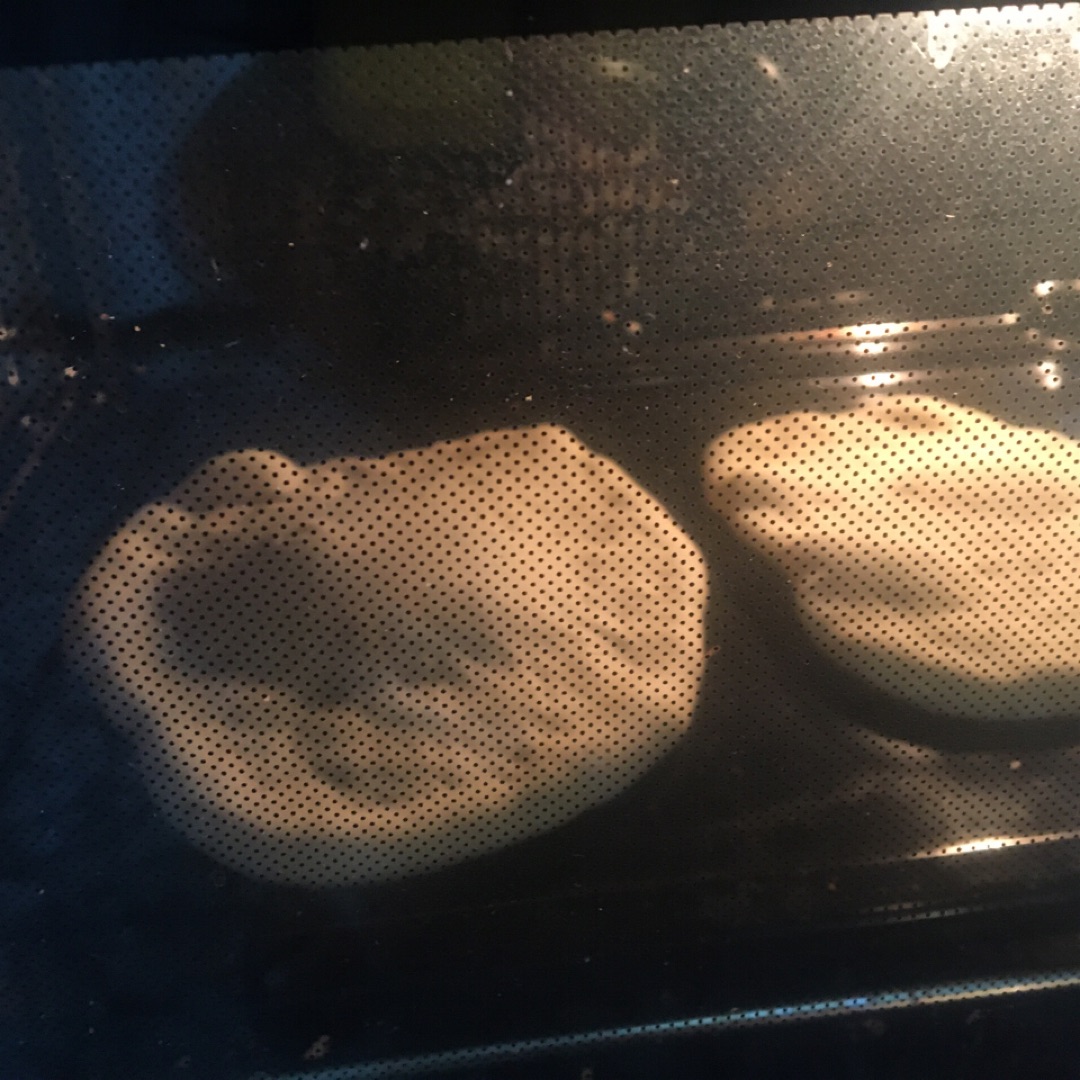
When the pan or oven is hot, without greasing or anything else, place them in the pan and close or cover them until they are inflated until they look like a balloon, and leave them for about 3' on each side, depending on whether you like them crispier or more tender.
8
Somewhere (in my case the sink) we put some grids and as they come out we place them there with a few pints or two spatulas and crush (with a large spatula and carefully, because it will come out very hot steam).
9
If they do not rise as in the photo of the previous step, absolutely nothing happens. You can freeze them for up to two months and then simply take them out and heat them in the oven, toaster or frying pan, fill them and you're done.
Ingredients
Steps
Calories
1
First we pour the warm water in a bowl and dissolve the yeast (+ of a quarter) once dissolved we begin to pour the flour, if you have a kneading machine better, if not with a silicone spatula.
2
Once a homogeneous dough is formed without lumps and easy to handle, we pour flour on the work surface and knead, when it does not stick (approx.5' kneading) we add the oil and once absorbed the salt.
3
Grease a bowl with a little olive oil, place the dough and cover with film and a cloth. Heat the oven to about 55°C and put it inside, make sure the film covers everything (it has to be touching the dough), and let it rest between 60'-120' as long as you can.

4
Once the dough has risen, we put it on the table with a little flour and degas, we divide it into small balls, of approx. 80-90gr, then they grow, we flour a little a cloth cloth and put the balls, with a little separation, and on top we put a little oil, (if they do not dry) and let them rest 30'-60' more or less.
5
When they have grown they will look like telepizza doughs, but they will be super tender, we degas from the outside in, and shape them round and quite thin.

6
We put them in floured cloths and cover them on top, when we finish all of them we heat the oven to the maximum (250°C), when we finish shaping them because this way they rest a little, or a frying pan to the maximum also.
7
When the pan or oven is hot, without greasing or anything else, place them in the pan and close or cover them until they are inflated until they look like a balloon, and leave them for about 3' on each side, depending on whether you like them crispier or more tender.

8
Somewhere (in my case the sink) we put some grids and as they come out we place them there with a few pints or two spatulas and crush (with a large spatula and carefully, because it will come out very hot steam).

9
If they do not rise as in the photo of the previous step, absolutely nothing happens. You can freeze them for up to two months and then simply take them out and heat them in the oven, toaster or frying pan, fill them and you're done.
Calories
Per 100g
Calories
carbohydrates
carbohydrates
proteins
proteins
fats
fats
salt
salt
Sugars
Sugars
Saturated fats
Saturated fats
Desbloquear información nutricional
Hazte PLUS para ver la información nutricional de las recetas, y desbloquear muchas más funcionalidades PLUS.
Información nutricional
Calories
Per 100g
Calories
carbohydrates
carbohydrates
proteins
proteins
fats
fats
salt
salt
Sugars
Sugars
Saturated fats
Saturated fats
Desbloquear información nutricional
Hazte PLUS para ver la información nutricional de las recetas, y desbloquear muchas más funcionalidades PLUS.
Valoraciones
Etiquetas
Doughs and breads
Dinner
Quick
Tupper
Vegan
Vegetarian
Lactose free
Children's
¡Libera todo tu potencial con un Plan nutricional!
Planes nutricionales adaptados a tu objetivo 🎯 ¡Desbloquea todas las funcionalidades PLUS!


Se el primero en valorar esta receta...